When you are going to hand stitching a leather item, you would like to have every single hand stitch with the same distance. This Tutorial is a useful guide to learn how to achieve this result with the Overstitch Wheel: this leather craft tool will help you to prepare your leather item for a very precise stitching. Keep reading for an extra tip!
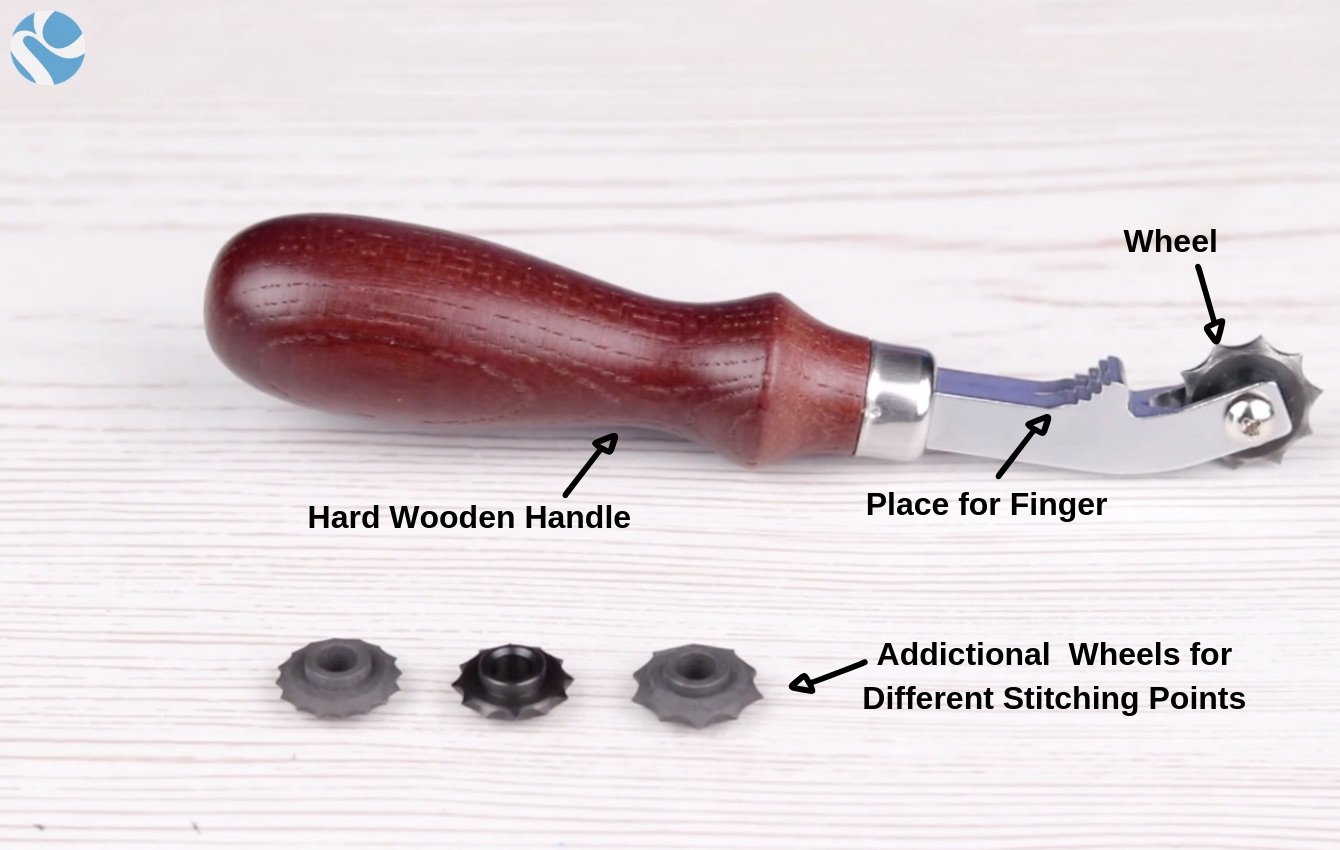
Overstitch Wheel Pro and its accessories
The tool is composed by:
- Hard Wooden Handle;
- Place for finger - to give you a better handy and to push stronger;
- Wheel;
- Three more wheels - to make different distance stitching points.
How to stitch points with the same distance?
Groove a straight line on the leather, using the Stitch Groover Pro.
When you mark your stitches, pay attention in positioning the first point ,where you want your stitching exactly to start.
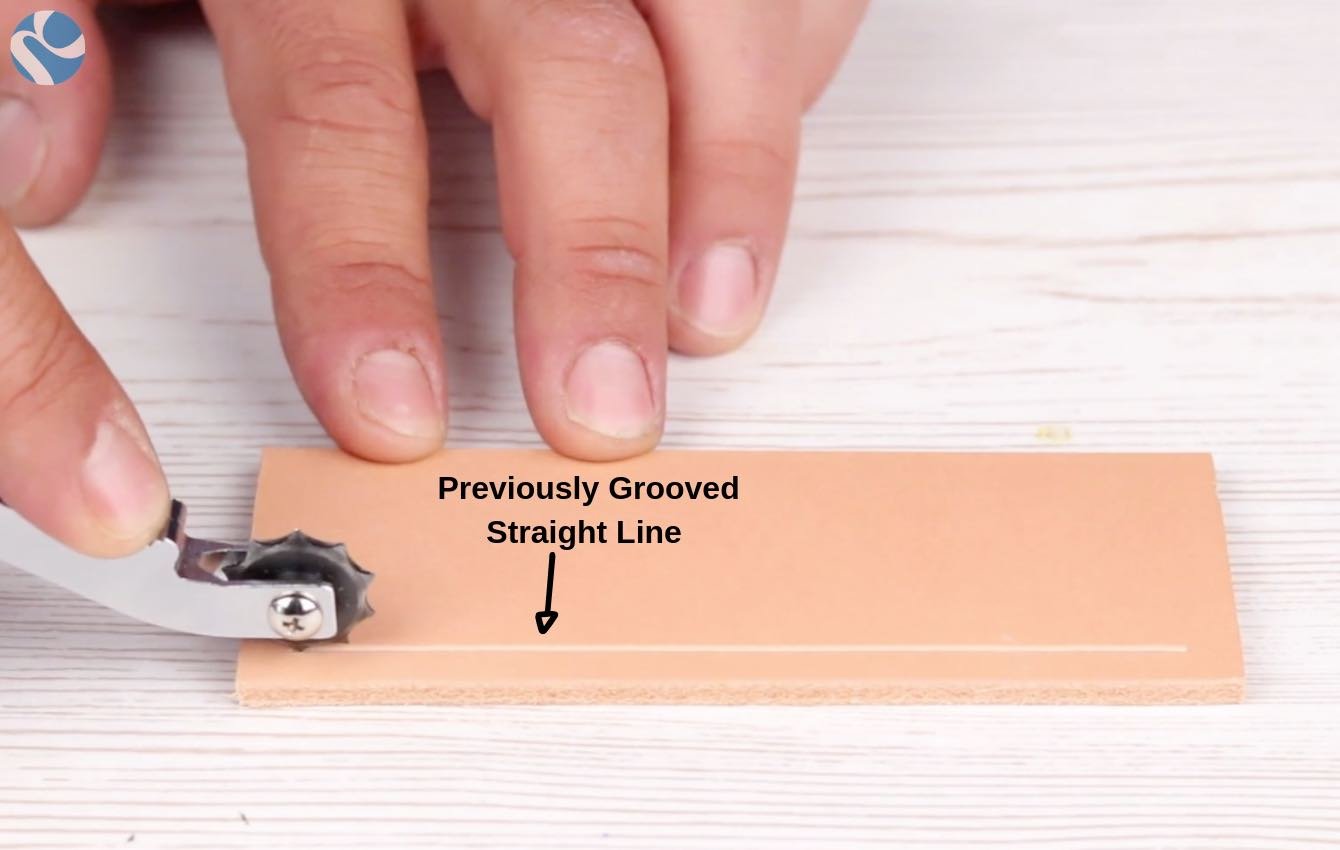
Now go straight on the groove line, pushing down.
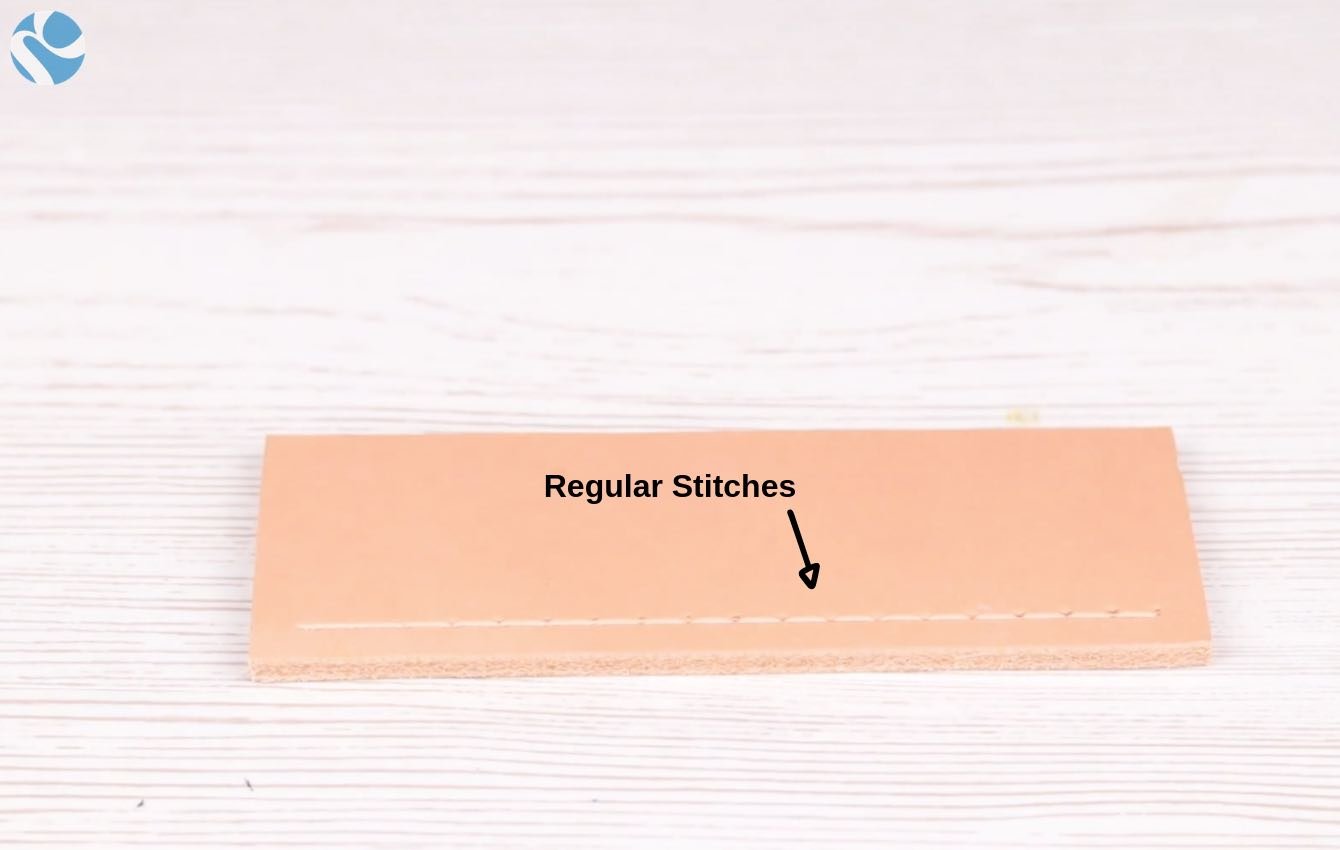
At the end, your line will result marked from the same distance point.
To obtain different distances marking, it is possible to change the wheel on top of the tool. To do this, just:
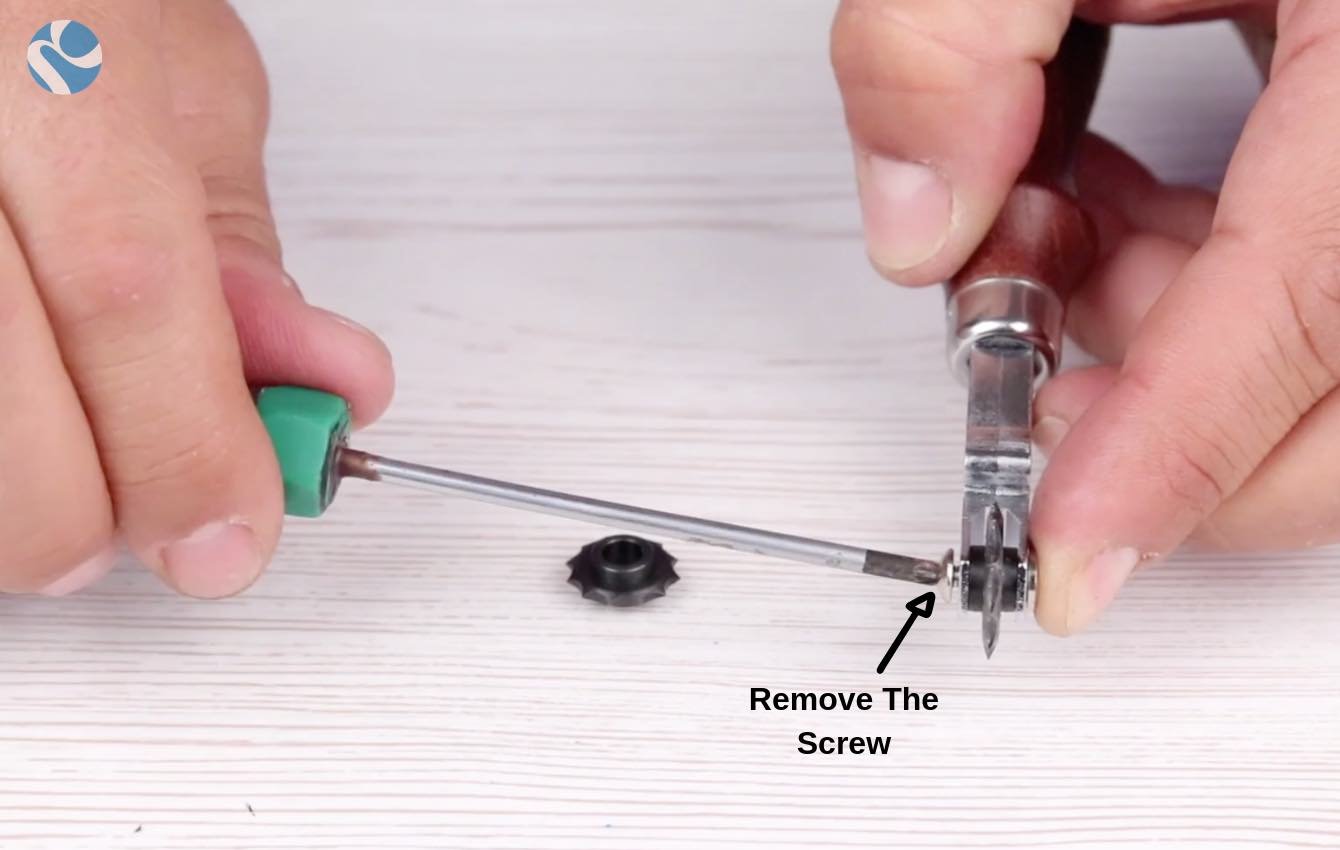 |
1- Remove the screw with a screwdriver |
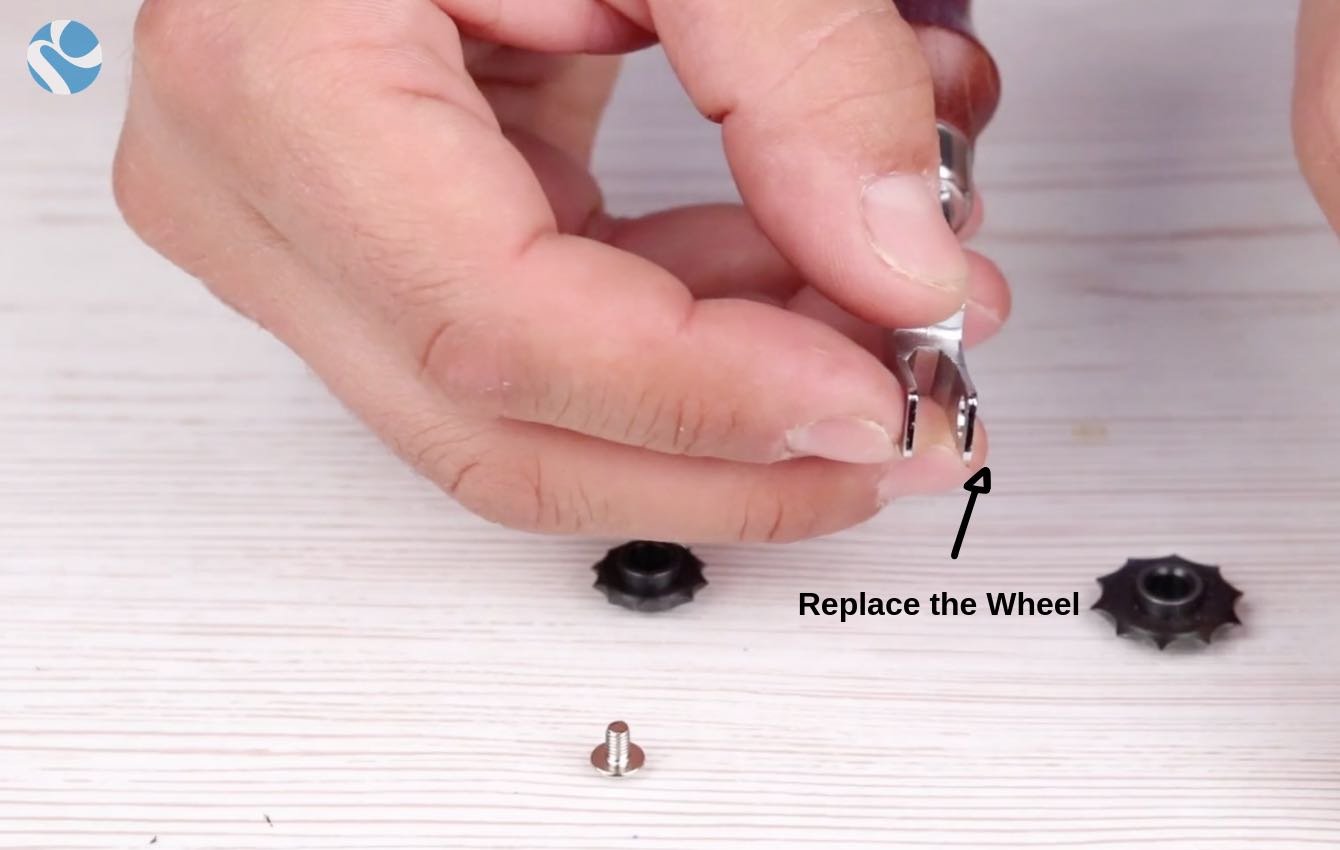 |
2- Replace the wheel with your favorite one. |
Extra TIP! How to make a fake stitching that looks like a real one.
If you don’t simply mark the point, but push stronger, the final result will look like a fake stitching.
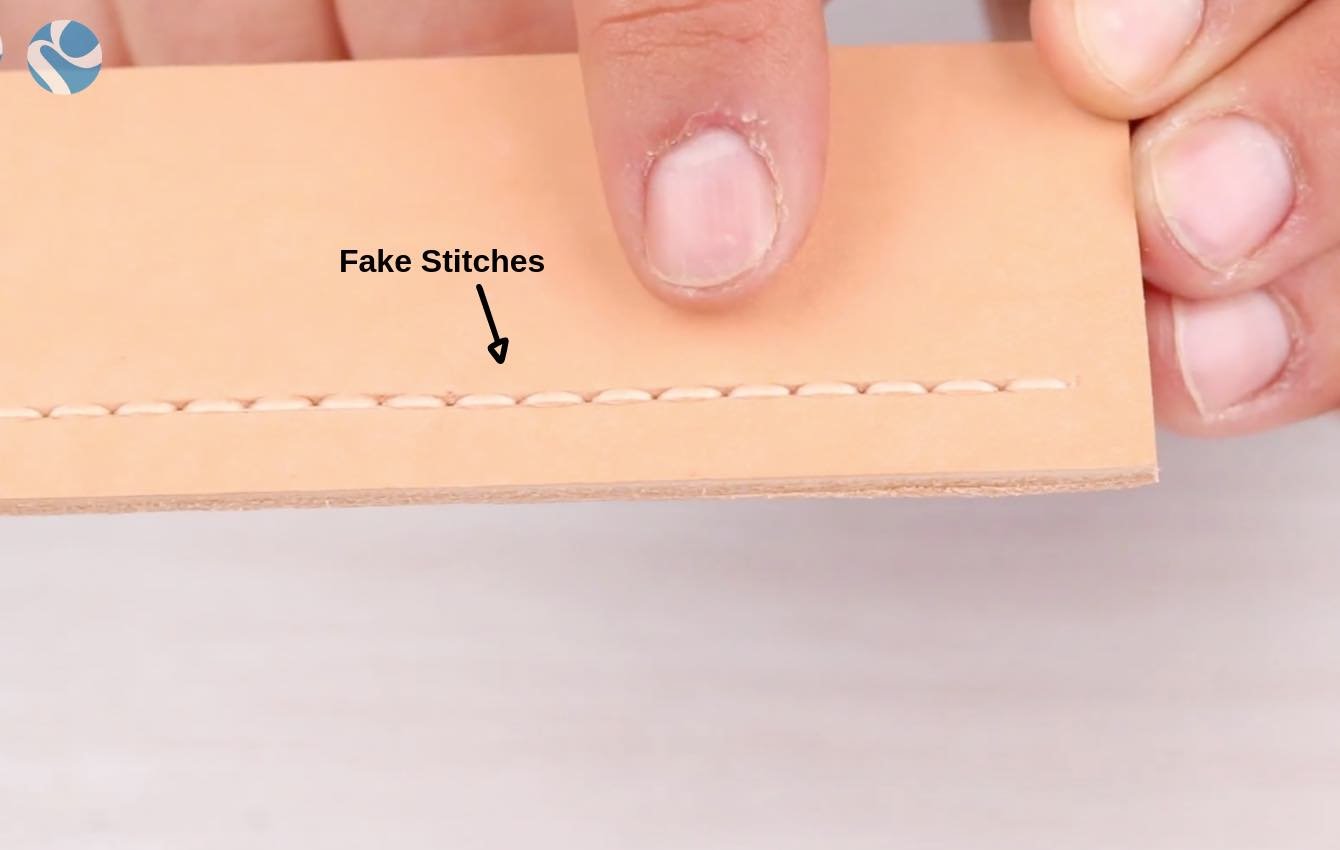
Doesn’t it look real, do it?